
Jeff's Lionel Trains Page
I have no permanent layout. Trains are only set up around Christmas time. The thumbnails below are from 2014. Keep scrolling down to see how the layout began and evolved.


2014 - Click thumbnails for larger image.
2009 - The Beginning
I had not planned to buy Lionel trains. But I was inspired by a chance encounter with a Lionel Lines starter set (7-11175) marketed by Walmart and other retailers for the 2009 Christmas season. I decided the Walmart set was too thin on features. So I opted for a Pennsylvania Keystone Special starter set (6-30096). I liked that the set included the larger CW-80 transformer. I liked that the locomotive had a traditional air whistle and a usable front coupler. I added a Pennsylvania Flyer Expansion Pack (6-30037) plus a switch and some extra track for a storage spur.

My first Lionel starter sets.

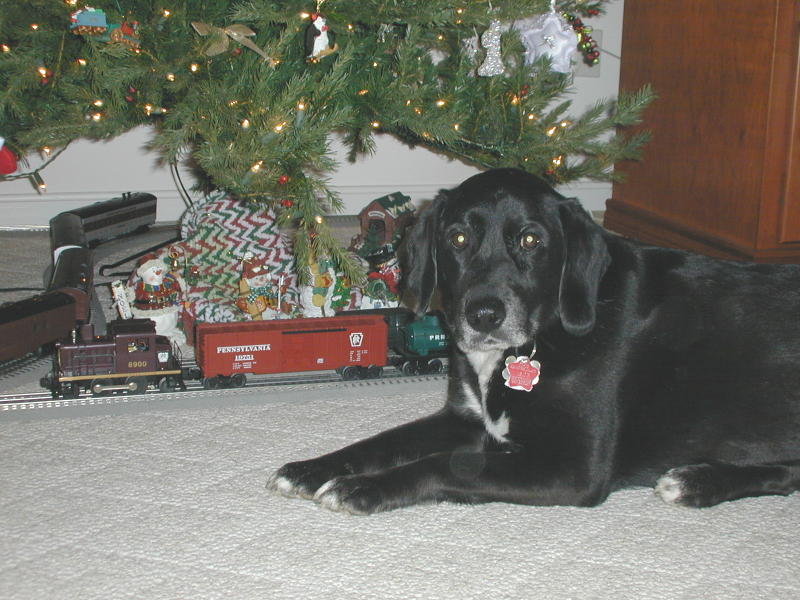
Friend or Foe? Belle sizes up this new critter roaming her living room.
The coal hopper that came with the Expansion Pack had an unreliable coupler. Apparently this is a common problem caused by a weak uncoupler plunger. I order some spare uncoupler plungers (9050-57). After removing one axle from the truck, the old uncoupler plunger can be popped out with a screwdriver. Then everything snaps back together.

Spare uncoupler plungers (9050-57).
2010
For 2010 I added an Outer Passing Loop Track Pack (6-12031). And I cobbled together a Pennsylvania passenger train including a baggage car (6-16022), combine (6-16009), coach (6-35168) and dinner (6-35167). I have no special interest in the Pennsylvania Railroad (actually I'm a Reading fan). But I began with a Pennsylvania starter set and decided to stick with that theme.

Pennsy passenger train.

Scruffy about to go Godzilla on a passing train.
When I tested my Pennsy passenger train I noticed that the lights flickered in the two older solid-color cars. The lights in the newer striped cars worked fine. The older cars flickered because they had a pickup assembly on only one truck whereas the newer cars have a pickup on each truck. So I bought some extra pickup assemblies (600-9050-150) to add to the older cars. The assemblies snap right into the existing truck frames. Some wire and solder completed the upgrade.

Snap in pickup assembly (600-9050-150).
2011
I bought two more switches and a little more track. This year's track plan comprises an oval with an inner reversing track, an inner siding and two outer yard tracks.

Scruffy inspects a freight train stopped on the inner siding. A passenger train rolls through the reversing track. Outer yard tracks are at lower left.

The two outer yard tracks can each store a train.
I wanted to be able to isolate locomotives on my three sidings without running wires or building a control panel. So each siding is equipped with a 1-3⁄8" straight track section (6-12073). These sections have a gapped center rail with an underside jumper. I drilled a hole in the roadbed, installed a small toggle switch and wired the switch to the jumper. The bottom of the toggle switch slightly protrudes below the base of the track. But that's okay since I set up on carpet.

Outer yard tracks with isolation toggle switches (red circles).

Underside of 1-3⁄8" straight track section with toggle switch installation.
I have a real 2001 Dodge Ram. So Lionel's Pennsylvania Dodge Ram Inspection Vehicle (6-18438) was a must buy.

Pennsylvania Dodge Ram Inspection Vehicle (6-18438).
Last year I looked for a Lionel side-rod switcher with a Pennsylvania paint scheme. But no such locomotive exists. So I decided to make my own. First I acquired a small D.C. powered four-wheel Pennsy locomotive that was included with Lionel's low-budget "Midnight Shift" starter set (6-11708). All I wanted was the Pennsy locomotive shell. Next I purchased a new PWC #41 U.S. Army switcher (6-18474). The Pennsy shell fits right on the Army chassis. But the shell was thin on detail so I also added handrails and headlight bulbs. I didn't scrap any parts off the Army shell so I can readily restore the Army switcher to its original condition. The project turned out to be more involved than I expected, but I ended up with a unique little locomotive.

Components for my Pennsylvania switcher project.

Finished model.

Finished model.
Below are a few more pictures from 2011.


Click thumbnails for larger image.
2012
New track plan for 2012. Instead of an inner reversing loop, I incorporated a turning wye into my outer yard. I kept the inner siding, but now it's much longer. I like this track plan. Maybe I'll commit to plywood for 2013.

2012 track plan.
My only rolling additions for 2012 were three more freight cars including a Pennsylvania 16-Wheel Flatcar w/Girders (6-29655), a Pennsylvania Flatcar w/Wheel Load (6-26699) and a Pennsylvania Ore Car (6-19300).

New freight cars.
Okay, rant time... While I think the Fastrack switch stands are a neat detail, they are absurdly fragile for what is supposed to be a toy train application. Setting up track on the floor leaves the switch stands hopelessly exposed. I've managed to break most of them and I don't even have kids playing with the layout. I bought some replacement parts, but what's the point of fixing them? Fortunately the switches function just as well with or without the switch stands.
2013
I wasn't feeling enthusiastic about the time spent setting up and taking down the layout every year. So I decided to commit to plywood. The main module is 51" x 82" and includes a loop and a long inner siding. The front of the siding has a section of uncoupling track with the uncoupling button over by the transformer. The siding loops behind the Christmas tree for lots of surplus car storage. The siding is divided into two isolated blocks using my switched isolating track sections described above. An integrated extension cord pops up in the middle of the module for plugging in the Christmas tree.

Main module.
The yard module is 8' long with three tracks and a turning wye. The wye's tail track is long enough to turn my whole passenger train. Each of the three tracks is divided into two isolated blocks using my switched isolating track sections. I can potentially isolate six locomotives in the yard. Since the layout is supposed to be part of a Christmas scene I painted everything white. Track is secured with #4 ¾" wood screws.

Yard module.
Benchwork comprises ½" plywood over a grid of 1x2 furring strips. This makes for a sturdy low-profile arrangement with space under the plywood to run wiring.

Wiring.
The two modules are joined by three alignment pegs.

Alignment pegs.
The transformer spans the two modules and helps hold the modules together with the transformer mounting screws. Each module has a power lead connecting to the transformer.
Transformer wiring.
If you're looking to assemble a Fastrack O-36 turning wye like the one shown below, here's a list of what's needed to fill in the three legs. The bottom straight leg includes two 10" straights and two 1 3⁄8" straights. The left leg includes one 45° curve and one 11.25° curve. The right leg includes one 1 ¾" straight, one 10" straight and two 11.25° curves. The final alignment isn't perfect, but it's pretty close.

Turning wye components.
2014
Nothing new for 2014, but I took some pictures and made a short YouTube video.
Click thumbnails for larger image.

--EXTERNAL LINK-- Click image to go to a brief YouTube video.
2015
I just couldn't get into setting up a layout each year only to have to take it apart again a few weeks later. No more Christmas layouts. I dismantled my plywood modules in anticipation of building a more permanent basement layout. So far I haven't got around to it.
Weaver WK&S Cars
Over the years I've collected a few Weaver cars decorated for the WK&S railroad. I don't run them often because the cars are true scale and look silly next to the rest of my traditional Lionel equipment.

Weaver true scale Wanamaker Kempton & Southern cars.
RMT WK&S Cars
In 2025 RMT (or Ready Made Trains) offered a WK&S boxcar. I bought two! Item number RMT-96499-166.

RMT WK&S cars.
KMT WK&S Cars
eBay find: In 2026 I acquired an orange KMT WK&S boxcar. According to my brief Internet search, KMT (or Kris Model Trains) produced cars between 1968 and 1982 including many small custom runs. There's at least one other version of the car in a red and white scheme.

KMT WK&S car.

Random Internet pic.